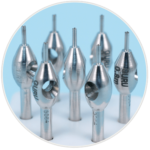
 FUE Punch – best hair transplant punch
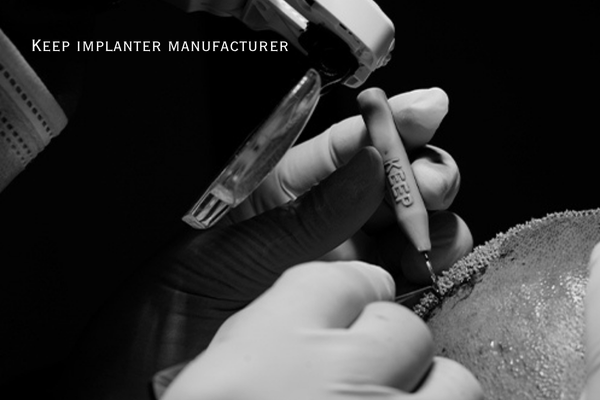
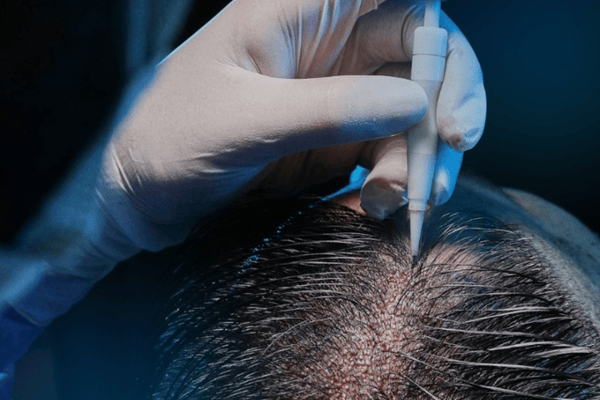
How to Use the Keep Implanter in Hair Transplant Surgery
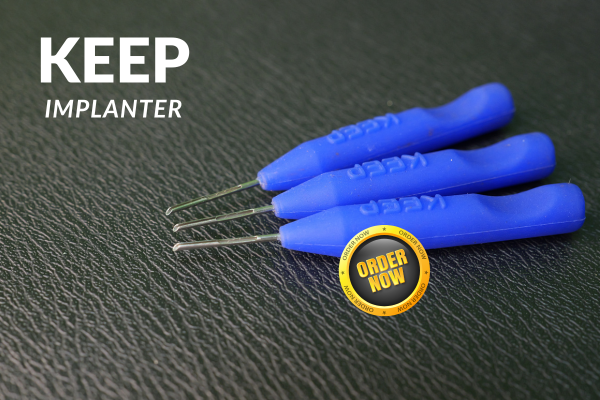
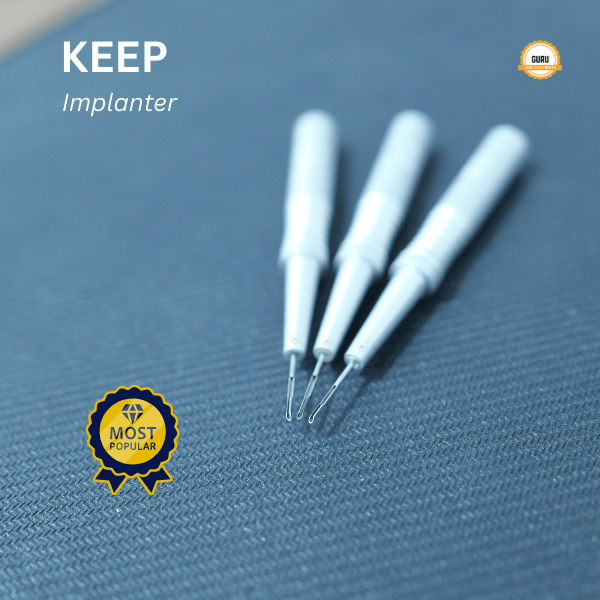
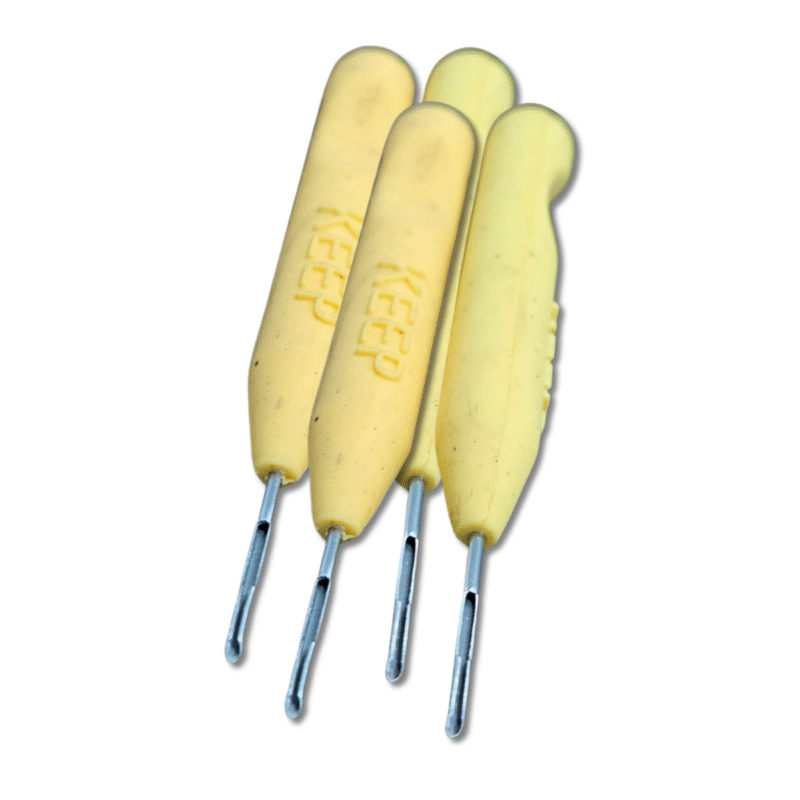
The Keep Implanter is designed to provide precise, damage-free implantation of hair grafts, improving graft survival and surgical efficiency.
⚙️ Step-by-Step Usage Guide
Step 1: Load the Graft
Pick up the harvested graft gently using fine forceps.
Insert the graft into the needle lumen of the Keep Implanter, ensuring that the root remains inside the needle and the hair shaft is facing outward.
Use minimal handling to avoid follicle trauma.
Step 2: Align the Implanter
Hold the implanter like a pen for better control.
Position the tip at the desired implantation site following the pre-drawn hairline design.
Maintain correct angle, direction, and depth for a natural look.
Step 3: Implant the Graft
With gentle pressure, insert the needle tip into the scalp to the required depth.
Press the plunger slowly to place the graft into the slit or recipient site.
Withdraw the needle smoothly without disturbing the implanted graft.
Step 4: Repeat Consistently
Continue loading and implanting grafts following the same technique.
Ensure uniform spacing and density as per the surgeon’s plan.
Step 5: Sterilization & Care
After the procedure, disassemble the implanter if applicable.
Clean thoroughly and sterilize in an autoclave before next use.