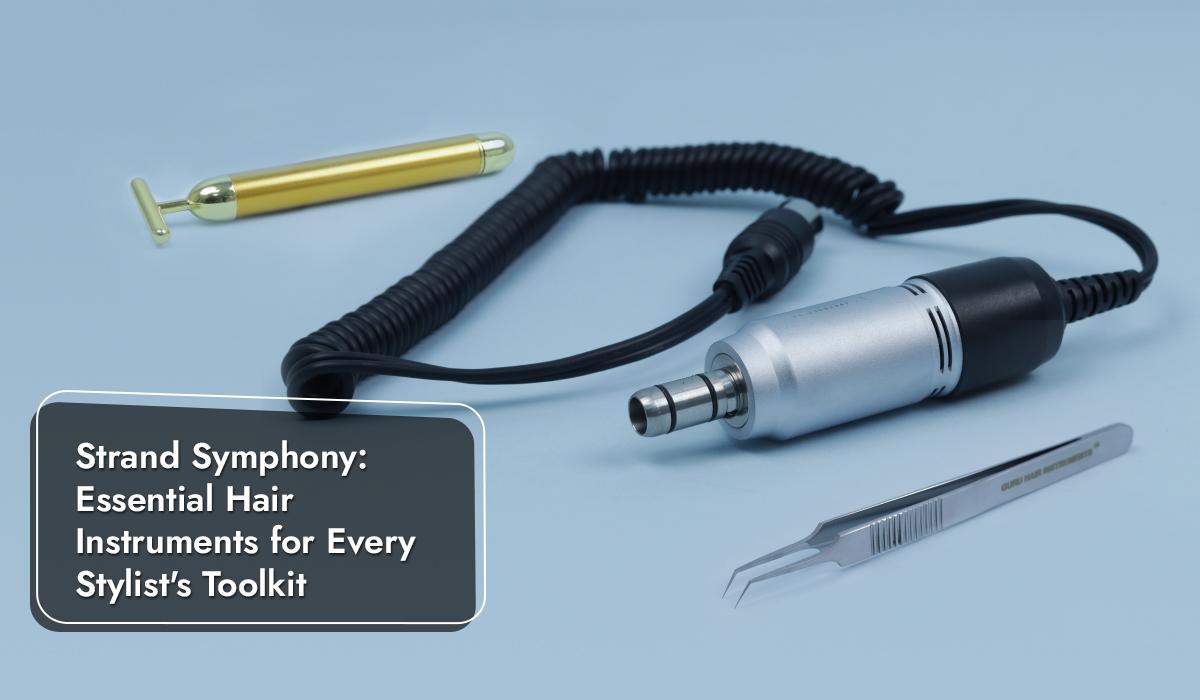
 FUE Punch – best hair transplant punch
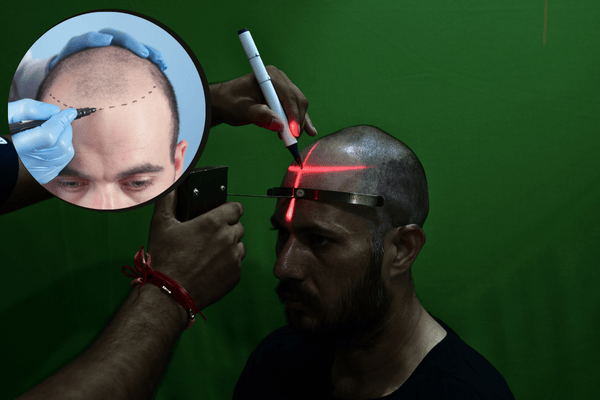
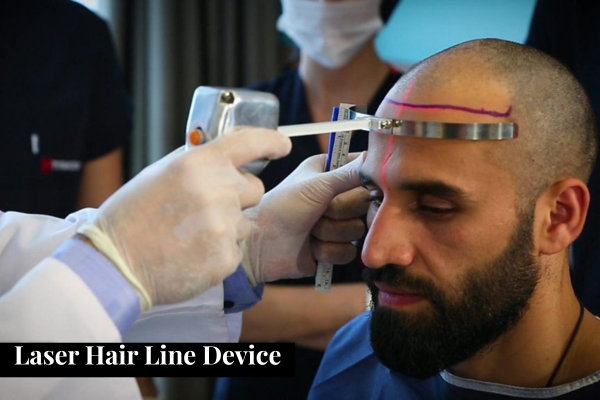
Drawing a proper hairline before a hair transplant is one of the most important steps, since it determines the final look and naturalness of the procedure. Here’s a simple step-by-step guide:
🔹 Steps to Draw a Natural Hairline
- Assess the Patient’s Face Shape
- Oval face → slightly rounded hairline works best.
- Square face → straighter hairline with defined corners.
- Round face → slightly higher, less rounded hairline for balance.
- Find the Midline
- Mark the center point between the eyebrows (glabella).
- From this point, draw a vertical line upwards to guide symmetry.
- Decide the Hairline Height
- Average hairline is 7–9 cm above the glabella.
- Adjust based on age, gender, and natural proportions.
- Avoid placing it too low (unnatural, childish look) or too high (large forehead).
- Mark the Temporal Points
- Identify where the hairline should naturally recede at the temples.
- Create a gentle “M” or “U” shape depending on the patient’s facial harmony.
- Connect the Dots
- Use a surgical skin marker or laser hairline device.
- Draw a smooth curve (not straight) to mimic natural irregularity.
- Slight micro-zigzag can make it look softer and natural.
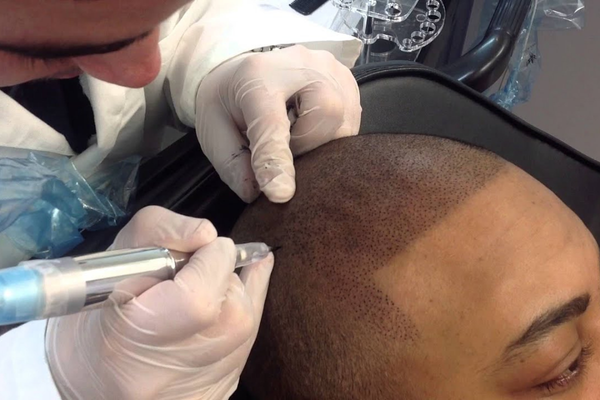
- Check Symmetry
- Measure distances from eyebrows to hairline on both sides.
- Ensure balance but avoid perfect symmetry (a perfectly straight line looks artificial).
- Finalize & Get Patient Approval
- Show the hairline design in the mirror.
- Adjust based on patient’s preference while keeping natural aesthetics.